How To Set Up Time Machine Backups
This guide shows you how to set up Time Machine on your Mac.
Before you start, you will need an external hard drive that you will use as the backup disk.
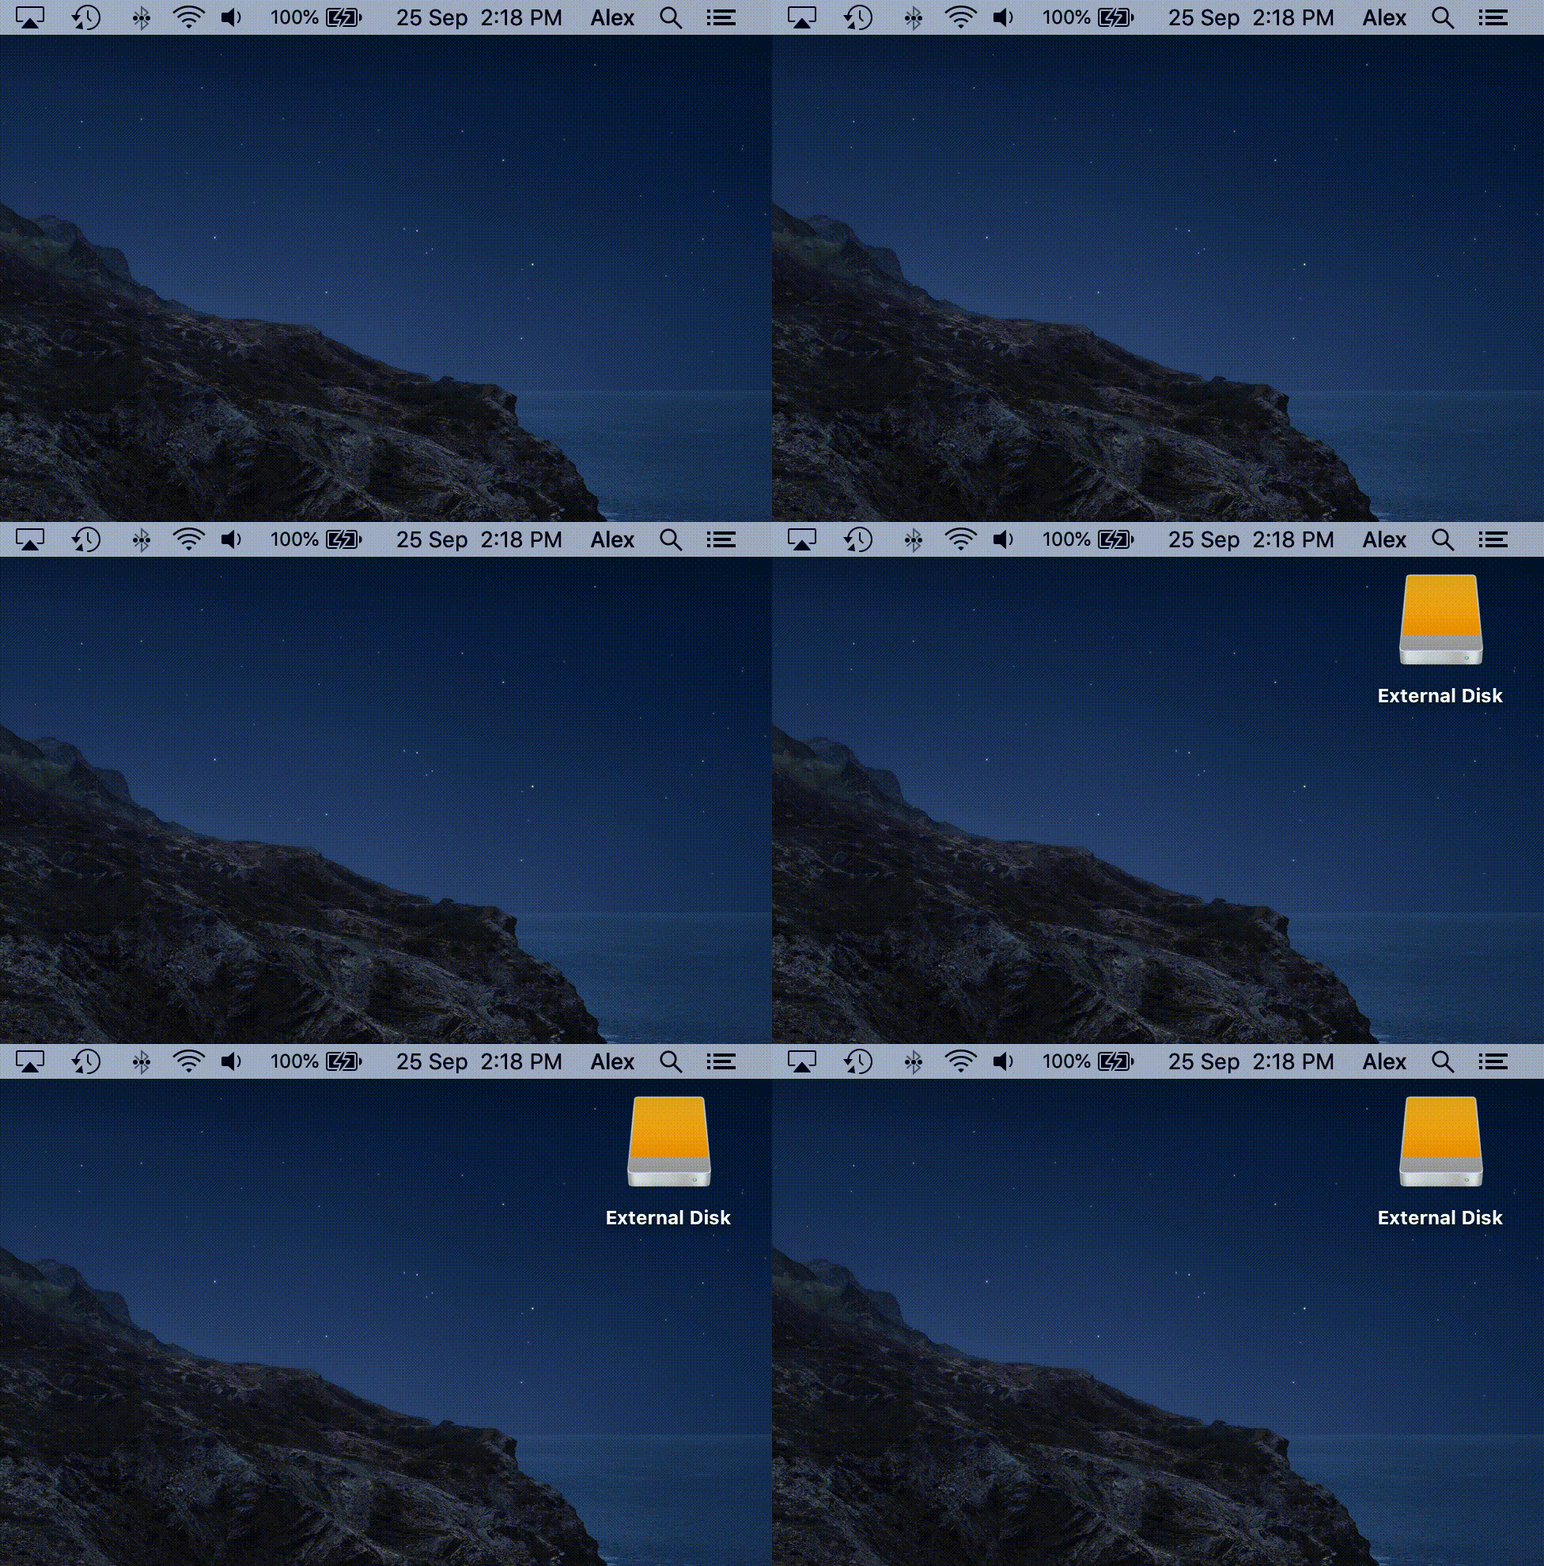
Step 1: Plug in the disk to your computers USB port, it should show on your desktop like this. See the animation below.

Step 2: Once connected, your Mac will show a window asking if you’d like to use the disk as a Time Machine Backup.
Select Use as Backup Disk.

If your disk is already in the correct format, then you have succesfully enabled Time Machine and your computer will start to backup soon.
Be sure to connect it regularly to keep your backup up to date.
If however, it’s asking to Erase the Disk, please read further for more information.
If your disk is not in the correct format
If your Mac is asking to erase the disk before using it, this means the disk is in a format Time Machine cannot use. In order to use the disk, your Mac must wipe it first.
Proceed with caution!
Selecting Erase will result in the entire disk being wiped, and all the data on it lost. Only do this if you are certain the disk does not contain important data.
You have been warned.

If you are unsure, or don’t feel confident in doing any of the above, please don’t hesitate to give us a call, we’ll be more than happy to walk you through it over the phone or provide assistance remotely via remote control software.
More Help Articles
